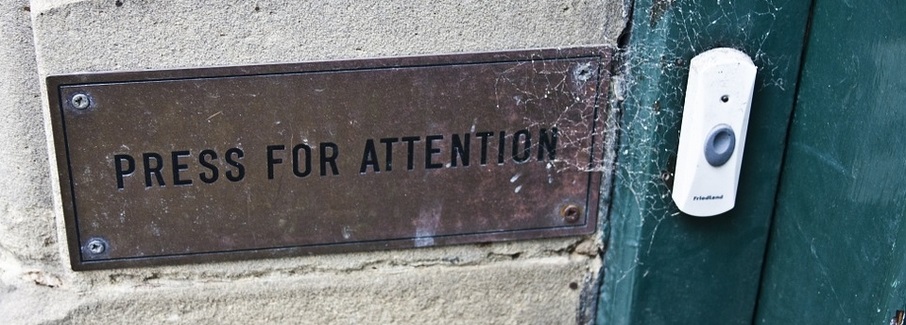
With every effort made to get a wireless doorbell put securely on the outside of your home, the big question now is what next? Beyond buying a wireless doorbell, is knowing how to install it effectively in the home. The installation process comprises of a series of activities which includes syncing the wireless doorbell. While this seems so much of a difficult task for a few individuals, it is simple if you have a clear understanding of how it is done. So in this article, we shall be running you through some helpful steps to help sync your wireless doorbell.
1. Examine the Newly Purchased Doorbell
While it is certain that you have paid much attention to the wireless doorbell on a purchase, examining it is still imperative. This is the first and essential setup. Check the wireless doorbell for all the information provided to see which can be helpful for the syncing. Here, you can go on to consult the manual guide if any is provided. In this examination, it is always critical that you pay attention to the details and take notes where needed.
2. Insert Batteries and Switch the Unit On
Being a wireless doorbell, it works with batteries. Every wireless doorbell on purchase usually comes with batteries that are compatible with it. These batteries are used to power the doorbell. They usually come in different sizes depending on the doorbell size and type. To commence syncing, it is critical that you have these batteries inserted in the doorbell. When this is done, go on to power the wireless doorbell and leave it that way for a while.
3. Sync the Chime Receiver with the Transmitter
When the unit has been powered, you now have to sync the chime receiver and the transmitter together. Here, the sync has begun, and you have to pay attention to the details. Many times, a section of the manual guide that comes with your wireless doorbell always make a provision for this. In a situation where for whatever reasons, you are not able to lay your hands on it, there is no cause to worry. Just locate the chime receiver of the machine and select the option provided that helps to sync it with the receiver
4. Choose the Chime Sound of Your Choice
The chime of every wireless doorbell always comes with a variety of sound options. It is left to you to choose which sound option suits you best. Remember it is a doorbell, and as such, it is essential you choose a sound you can resonate with. When choosing a sound, don’t just hurriedly choose, make sure to run through all of the sounds made available as this is the only way to choose effectively.
5. Go on Installing the Transmitter and the Receiver
With the chime and receiver synced with each other, and the sound of your choice selected, installing the transmitter and the receiver is the next step. The receiver is what receives the sound, and the transmitter sends it from one end to another. It is the transmitter that helps you to hear the sound indicating someone’s presence or otherwise.
6. Make Sure the Receiver Is Firm in Its Place
The receiver plays a significant role, and as such, it is vital that you have the receiver in its place. When and if anything goes wrong with the receiver, the transmitter will not be able to transmit the sound of the chime. To avoid this, check to be sure that the receiver is well fixed and firm in its place.
7. Run a Quick Test on the Unit
With all of the syncing and installation process, you can now go on to put the unit to test to affirm that everything is effectively in place. Power on the unit and test from the transmitter through the receiver end. Once any fault is noticed, inspect to find out what and where it went wrong.
With all of these steps, you should be able to sync your wireless doorbell without the help of any professional. However, if your wireless doorbell isn’t working, you can find the best models at productspy.co.uk


